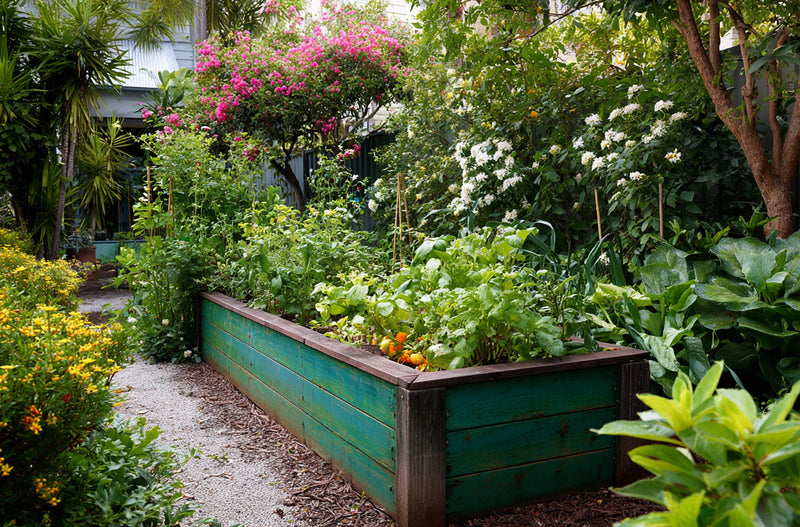

How to make your own wicking beds
If you've been looking for another way to water your thirsty garden, you might like to try wicking beds. These self-watering raised garden beds work by 'wicking' or moving water from a reservoir in the planter base up through the soil to the roots via capillary action. To put it another way, wicking beds water from below instead of above.
How does it work? Water enters the reservoir via a PVC pipe from the top, with agricultural pipe coiled around the base. An overflow outlet then prevents it from being overfilled.
Why use wicking beds?
There are many great reasons to plant in wicking beds. The main advantage is that it's easier to keep the growing medium moist, as water is drawn up as it's needed by the plants. That means in hot weather, moisture will always be available for your plants – while also keeping water wastage at a minimum.
Another big benefit is that wicking beds create a no-dig veggie garden, so you can do all your planting and harvesting at a good height. That means no bending or digging!

How to build wicking beds
You can turn any big solid-sided container into a wicking bed, but cube or rectangular boxes are best. As for materials, go for steel, wood or plastic. Just make sure it's sturdy, as it will need to take a lot of weight when filled.
Step 1
Place the wicking bed where you want it to be planted, as it's likely you won't be able to move it again. Make sure the ground is level, otherwise the wicking won't work well. You might like to add a base, as it will make the container more stable.
Step 2
Pop an old piece of carpet in the base of your wicking beds. Then line the base and sides with heavy duty plastic, and secure it at the top with staples or tacks so it doesn't move.
Step 3
Place the water feed pipe down one corner, and attach agricultural hose circling around the base.
Step 4
Fill one-third of the base with scoria or coarse gravel. Cover with filter cloth so the soil is contained in the top layer. Fill the remainder with good compost and potting soil.
Step 5
Now it's time to plant your seedlings! You can grow pretty much anything in your wicking beds, so long as your plants are growing in rich soil, there's no root competition from other plants or trees, they're easy to water and are protected from pets or rabbits.
Step 6
It takes time for the wicking effect to moisten all the soil, so water lightly until your seedlings get established. Fill the reservoir around once a week to start with – check the overflow outlet to get a feel for how much water is needed to keep the bed wicking properly. Once plants are established, you only need to water via the PVC pipe.
Your wicking beds can last for many years, and will only need a top up of organic material each season.
Pope's DIY tip
Use a hand spray to easily water your wicking beds once the soil starts to wick.
