
5 steps to set up your DIY greenhouse
A greenhouse is a great way to grow veggies year-round, especially if the plants you pick can't survive and thrive in your climate. You can also give seedlings a head start, before planting them out when the weather warms up.
How exactly does a greenhouse work? By warming the air and soil temperature, and reducing drafts and damage from overnight frosts. If you're a serious grower, you can even add heat to speed up growth. Here's how to get the most out of your DIY greenhouse.
1. Decide your design
The simplest setup (especially for a mini greenhouse) is to place old glass windows on bricks, over trays of seedlings. Just keep it covered at night and open to the air during the day.
You could also use clear polycarbonate plastic sheeting over pots. Just remember to take off the cover when the mini greenhouse is in direct sun, otherwise your plants could get overheated.
2. Or pick up a kit
Many hardware stores stock DIY greenhouses to set up at home. The higher the price, the better the quality – but it all depends on your greenhouse goals. For instance, glass sheets in frames will last many more years than plastic tunnels. Have a look at how the frames hold together to see how strong it will be.
3. Pick your position
Try to place your DIY greenhouse on perfectly flat ground in a sunny position. Plants can be grown in the ground, in pots, or in raised beds. Also consider how you'll water them (see our tip below). A gravel floor can help control drainage issues.
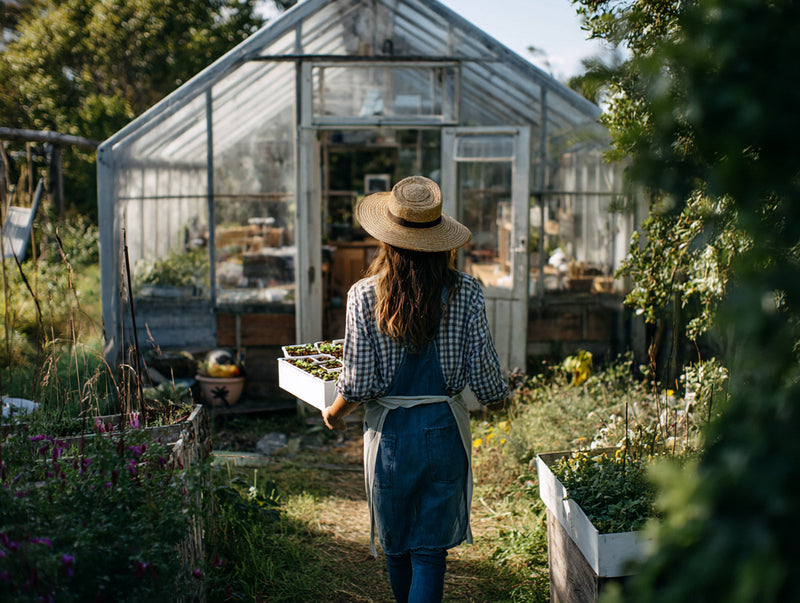
If you have room in your garden, you could set up a more traditional permanent greenhouse using low brick, stone or timber walls up to 400mm. Install a timber or steel framework, then add glass panels and a glass roof. Raised benches will make preparing and caring for seedling trays easy on your back.
4. Get ventilating
If you're using a permanent (or semi-permanent) greenhouse, you'll need to keep it ventilated during the day to reduce the risk of fungal disease. The easiest way to expel humid air is with top venting.
5. Just start
It might seem daunting to set up your DIY greenhouse, but the effort will be well worth it! Choosing the right greenhouse for your needs takes a bit of research. So perhaps start simple and small, and upgrade after a few years.
Many people have elaborate greenhouses, as they specialise in growing tricky heat-loving plants. If that's your goal, spend time planning and working out how much you're prepared to spend. You might be able to use an existing wall to cut costs and improve stability – as long as it's in a sunny spot.
Whatever you decide to do, even the simplest small greenhouse can make a massive difference to the success of your summer vegetables.
Pope's DIY tip
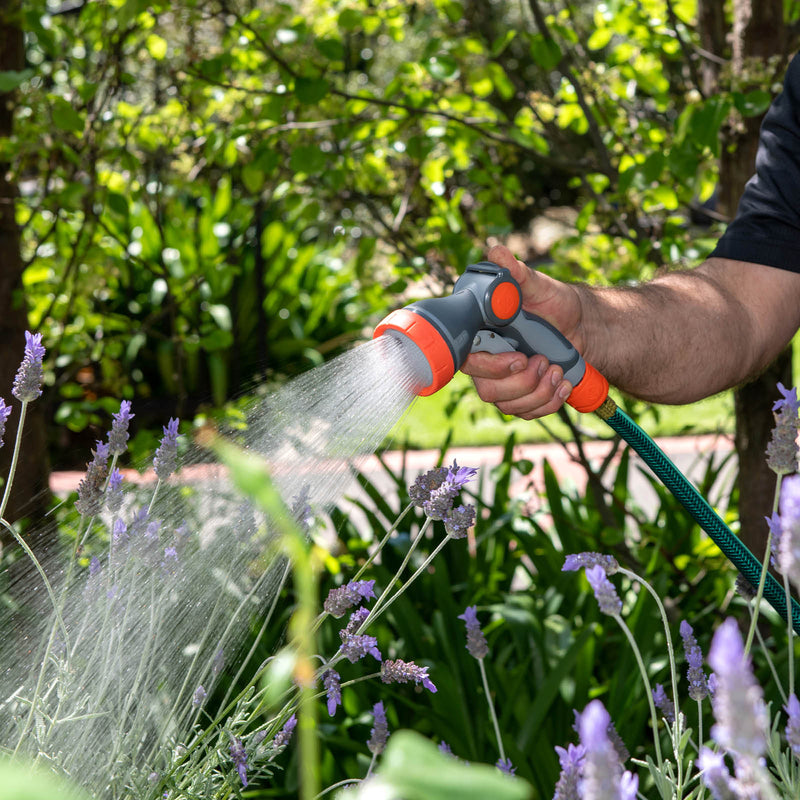
Drip Eze® gives your greenhouse plants the perfect amount of water with a low, slow flow – so there's less runoff and less wasted.
